Saturday, November 26, 2011

Knitting for a European Winter Part 1: Manly Scarf


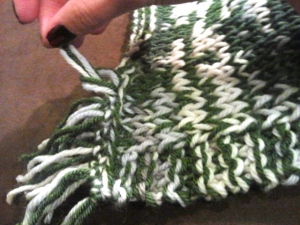
I don't think I've mentioned it, but this blog has officially gone on tour!  Right now we are in Utrecht, The Netherlands and while I like it here, it is also cold and foggy, which makes it perfect scarf weather.  I decided to make a simple striped scarf with fringe on the ends for my boyfriend. I let him pick out his colors and he picked white, green, and a greyish yarn that changes colors. Because he liked three colors, I ended up making white and green stripes with the color-changing grey yarn throughout the whole thing, which added a randomized pattern for a unique look.


I didn't use a pattern to make this scarf, I just knew I wanted big chunky stripes in stockinette stitch with a garter stitch edging, so I did the following:
  1. Use size 8 needles.  Hold the white yarn and the grey yarn at the same time, cast on enough stitches to make the scarf 10 inches wide.

  2. Knit the first row.

  3. On the second row, knit the first 3 stitches, purl all the middle stitches, knit the last 3 stitches.

  4. Repeat steps 2 and 3 until the scarf is 6 inches long.

  5. Cut the white yarn, leaving at least 6 inches to weave in later, and start using the green yarn for the next row.  Never cut the grey yarn as it will be used throughout the entire scarf.

  6. With the green and the grey yarns, repeat steps 2 and 3 again until you have 6 more inches of scarf.

  7. Then cut the green yarn, leaving at least 6 inches to weave in later, and switch back to the white yarn.

  8. Continue alternating the green and white yarn, making 6 inch stripes, until the scarf is 5 feet long.

  9. Cast off.


10. Weave in all the loose ends where you switched colors.
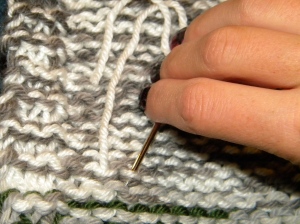


Now it's time for the fringe:
  1. Cut 6 inch strips of yarn.

  2. Use a needle to pull the strips through a loop on the edge.

  3. Make a slip knot.

  4. Repeat steps 1 through 3 until there is fringe all along the edge.
.

The final product looks like this:


Happy knitting!
xoxo
Laura

Thursday, November 17, 2011

(Gluten-Free) Pumpkin Pie!


Last weekend, my good friend hosted an early Thanksgiving party, and when he invited me, I offered to bring a homemade pie.  I don't really know why I did it, seeing as how I had never made a pie in my life.  I guess I was just so taken with the idea of being the sort of girl who whips up a pie to bring to a friend's house that I lost touch with reality for a second.  I started kicking myself as soon as I walked away.  But here's the thing: situations like this are exactly why I started this blog.  I genuinely want to be able to do things like this.  So on the morning of the gathering I took a deep breath, asked my mom a lot of questions, and went for it.

Crust:
I really lucked out with the crust because my dad had made extra gluten free dough and put it in the freezer, so all I had to do was roll it out, put it back in the fridge for 20 minutes to make it easier to work with, and then shape it into the pie pan.  He made the dough from the Gluten Free Pantry Perfect Pie Crust mix, and it tastes great; my gluten-eating friends didn't notice a difference.


Filling Ingredients:
  • 1 can pumpkin
  • 1 1/3 cup sugar
  • 2 eggs
  • 2/3 cups evaporated milk
  • 1/3 cup half and half
  • 1/2 teaspoon ginger
  • 3/4 teaspoon cinnamon
  • 1/2 teaspoon salt

Directions:
  • Preheat oven to 425
  • Beat eggs
  • Gradually add sugar while beating
  • Add pumpkin, ginger, cinnamon, salt and beat well
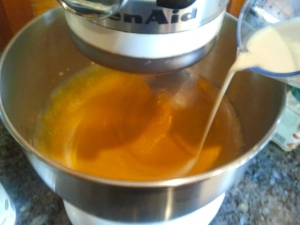
  • Add cream
  • Beat well
  • Pour into crust
  • Bake at 425 for 15 minutes, then 350 for 50 minutes

When I finished beating the pie filling, I got really nervous because it seemed like way too much of a liquid, but it thankfully turned into the right consistency once I baked it.


Doesn't the finished product look nice next to the pumpkin I carved for Halloween?  I was so happy when I brought it to the party and everyone liked it.  I succeeded!


I hope you have an equally happy and successful Thanksgiving!
xoxo
Laura
Sunday, November 6, 2011

Baby Crazy


I'm officially an aunt!  Well, kind of.  I'm actually a first cousin once removed or something, but we all agreed that it was a lot easier to just call me Aunt Laura!  Yay!

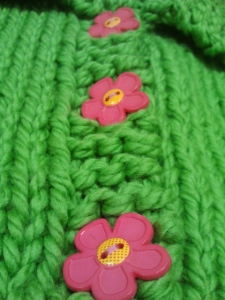
In honor of little Elizabth's 1st birthday (or is it her 0th birthday?  I am clearly not up on all this baby stuff) my mom and I took a class at The Lamb Shoppe in Denver, where we learned how to make a really adorable top-down baby sweater.  I decided to make mine in green with pink buttons so that it would be cutesy but not over-the-top advertise-to-the-world-that-I'm-a-girl pink.


The pattern was made by Mai Wyn over at the Lamb Shoppe, and she also taught the class which was so much fun!  If you're ever in Denver I highly recommend stopping into the store.

I can't wait to learn how to knit more baby things!  I accidentally became a little bit baby crazy, but how could I not fall in love with that adorable little 1-day-old face?  I'm totally smitten.


Congratulations to Jon and Sarah, the happy parents!
xoxo
Laura

Thursday, November 3, 2011

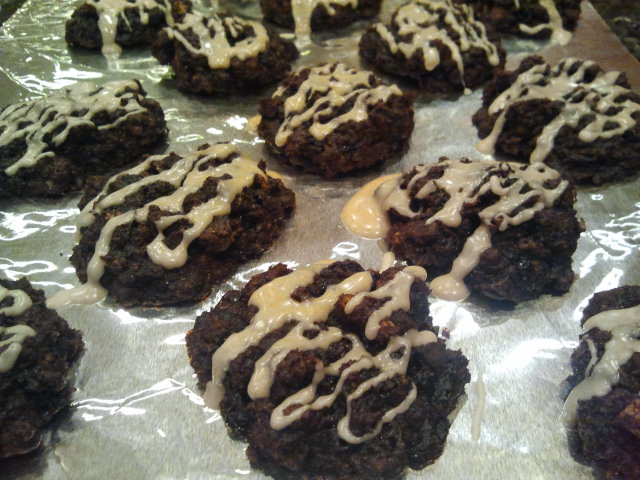
(Gluten Free) Brownie Mix + Cereal = Fun Cookies


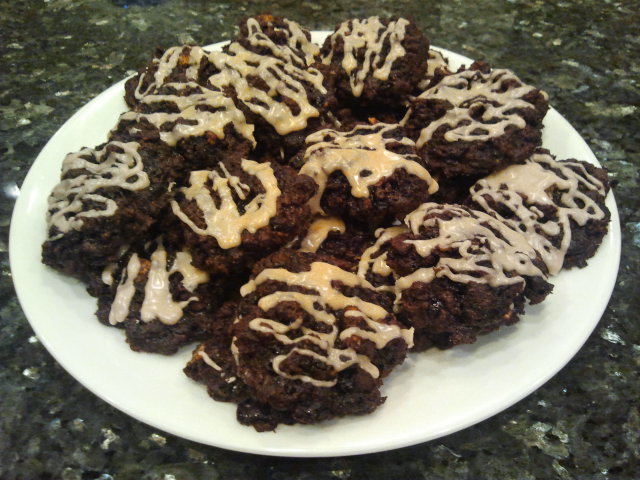
The other day, I was browsing the Betty Crocker website and I found this cookie recipe that sounded fun to make.  They are brownie cookies with Cinnamon Chex in them, and the combination of chocolate and cinnamon flavor is surprisingly delicious.  I was hoping the cereal would add a nice crisp crunch to the cookies, but it added more of a chewy crunch which wasn't my absolute favorite, but I would definitely still make these again.  Plus my boyfriend, the recipient of most of this batch, liked them so perhaps yours will too...

Cookie Ingredients:
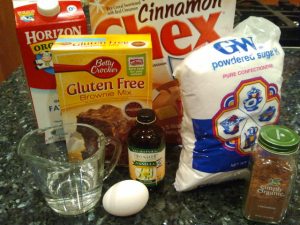
  • 1 box Betty Crocker gluten free brownie mix
  • 3 cups Cinnamon Chex cereal
  • 1/3 cup water
  • 1 egg, slightly beaten
  • 2 teaspoons gluten-free vanilla
  • 1/4 cup miniature semi-sweet chocolate chip


Glaze Ingredients:
  • 3/4 cup powdered sugar
  • 1/8 to 1/4 teaspoon ground cinnamon (I did 1/4 because I love cinnamon)
  • 3 teaspoons milk

Cookie Directions:
  • Heat oven to 350°F.  Grease cookie sheets.
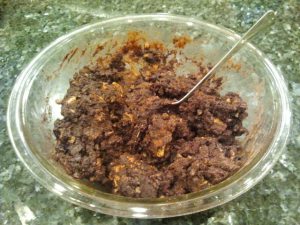
  • In large bowl, mix cookie ingredients with spoon until blended.
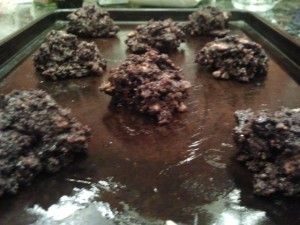
  • Drop dough onto cookie sheets by rounded tablespoonfuls about 2 inches apart.
  • Bake 10 to 12 minutes or until set.
  • Cool 2 minutes then remove from cookie sheet.  Cool 10 minutes before glazing.

Glaze Directions:
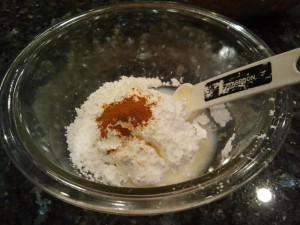
  • In small bowl, mix powdered sugar and cinnamon.
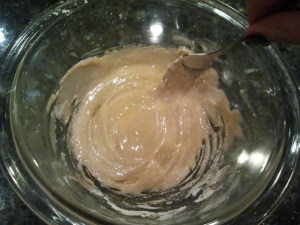
  • Stir in milk until smooth.  If necessary, add additional milk 1 teaspoon at a time, until glaze reaches drizzling consistency.
  • Drizzle cookies with glaze.


I enjoy these cookies because the glaze makes them look a little bit fancy while the ingredients are fun and unusual.  Could these cookies be a metaphor for my life?  Yes, yes they could.

Happy baking!
xoxo
Laura
Related Posts Plugin for WordPress, Blogger...