Monday, January 30, 2012

Origami Heart Bookmarks

It's only January, but there is Valentine's Day in there air everywhere I go lately. Unfortunately it's been following my boyfriend around as well, and he never fails to mention that he hates the holiday. It's not because he's a scrooge or anything, it's simply because he doesn't like that it's such a "Hallmark Holiday." I am not a V-Day hater myself, but I really do see his point, so I started trying to think of ways to de-consumerize the holiday. That's when Pinterest led me to this really great blog about making origami hearts. I tried making them and they're just as cute as I thought they would be.  See?


Here's how you do it:

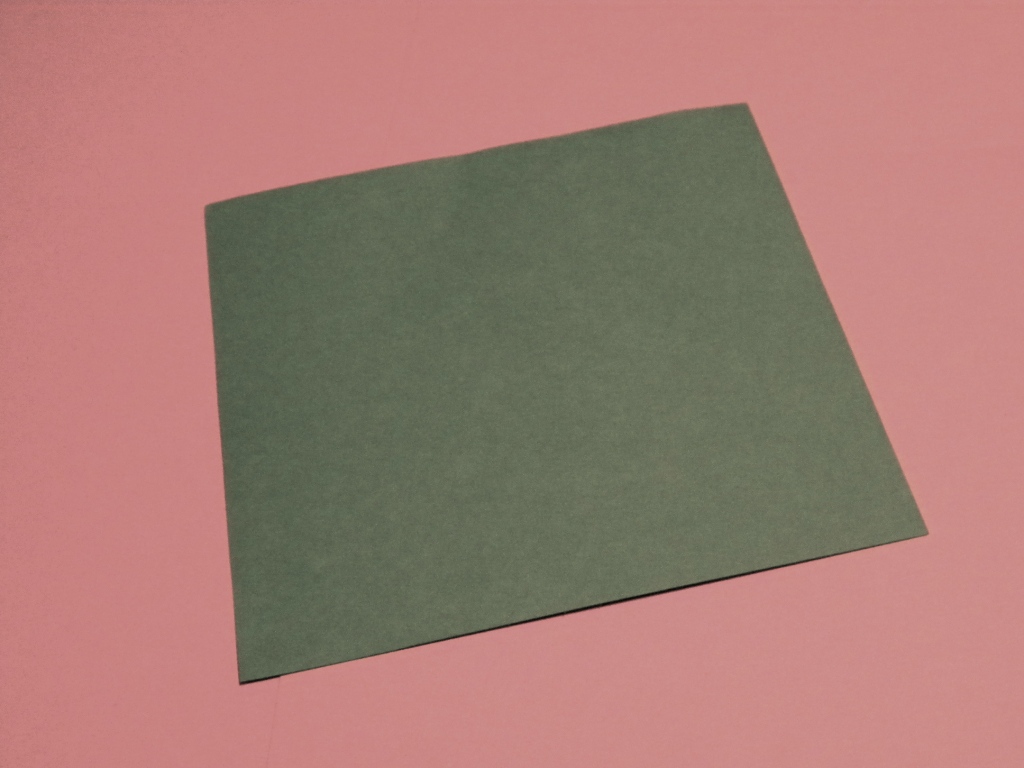
1.  Start with a square piece of paper.

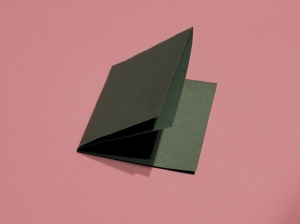
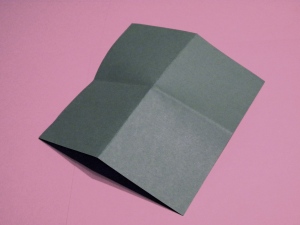
2.  Fold the paper in half, then fold it in half again.
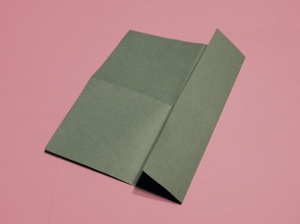
3.  Open the paper, then fold the bottom portion to the middle crease.
4.  Turn the paper over and fold up triangular edges.  Then turn the paper over again and fold the point of the triangle up to the top of the paper.
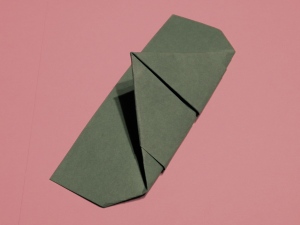
5.  Turn the paper over again so it looks like this:


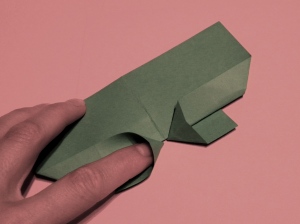
6.  Use your finger to make an opening, then flatten the opening to form a triangle.  Repeat this on the other side as well so it's symmetrical.
7.  Fold a triangle from the edge on both sides.
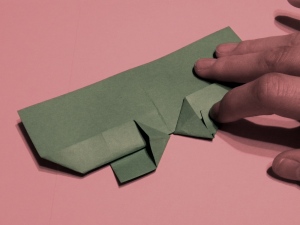
8.  Fold a mini triangle from each peak.
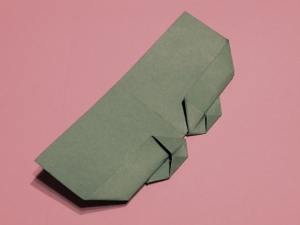
9.  Turn the paper over and you'll see the beginnings of a heart.


10.  Fold the rectanglular paper in so that it forms a square behind the heart, then fold those squares into triangles so that they are hidden behind the heart.
Et voila!  Your heart should look like this:


You can make these little guys in any color or size, and if you don't feel like using them as bookmarks, you can put them together to make a heart-flower:


Or you can just leave a pile of little origami hearts on your table like this:


Any way you fold it, it's going to be cute.
xoxo
Laura

Sunday, January 22, 2012

Headband Curls

Have you heard of Pinterest?  I'm assuming the answer is yes because I'm pretty sure I'm one of the last people on this bandwagon, but if you haven't checked it out, it's a really cool website where you can create pinboards of things you've found on the internet.  I've started using it to find and keep track of all sorts of things I'd like to try making (and subsequently blogging about right here).  One of the things I'm really loving on Pinterest is all the pictures of cool hairstyles.  I have long hair, and I love creating fun hairstyles, so I'm going to start trying out the styles I find and blogging about the good ones.

Today I'm going to write about some fun curls that I found a picture of on Pinterest that originally came from this youtube video.  These curls are great because they require no heat so they won't damage your hair.  The only downside to them is that the results are a little unpredictable as it is difficult to make all the curls exactly the same.

Start by brushing and parting your air-dried hair.


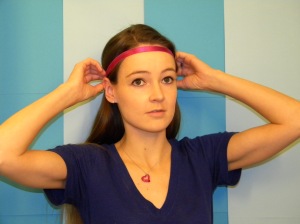
Place a stretchy headband over your hair.
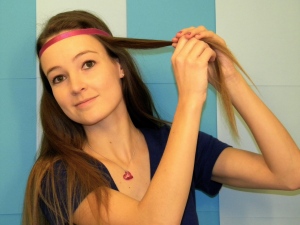
Starting on one side of your part, pull a small section of hair up and around the headband.
Continue wrapping strands around the headband until you've finished half of your hair.

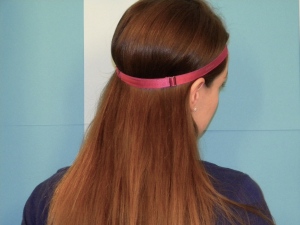
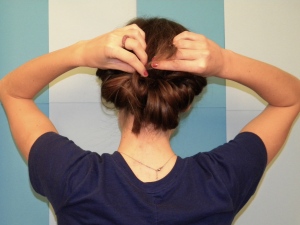
Do the exact same thing to the other side of your hair, leaving a gap on the back of the headband so there will be room for the last step.

Finally, when you get to the last strand, wrap it around the headband multiple times and then tuck in the last little bit.  (This is what you were leaving room for in the last step.)
And now it's time to leave your hair alone and go to sleep (or wear it around all day because it really is kind of cute).


When you wake up in the morning, take the headband out of your hair and you'll be all wild and curly (and in my case, sleepy)  like this:

This was a really fun project for me, so I hope you liked reading about it!

Also, if you are a member of Pinterest and want to check out my pins, you can find them here.

Happy curling!
xoxo
Laura

Thursday, January 19, 2012

Knitted Headbands

Hiya from Brighton, England!

I made matching-but-not-matching Christmas presents for my three best friends on tour this year, and all three girls happen to be British so it's very fitting that I'm posting about this from a posh seaside flat in Brighton.

Headbands are in this year, at least in my circle, so that's what I decided to make for my friends.  I used the same sparkly white yarn for all three, but I put different accents on each one so they all have their own personalities.

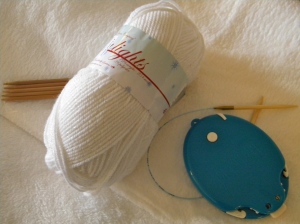
These are the supplies I used:
  • US size 7 circular needles for the headbands
  • US size 7 flat needles for the accents
  • Sparkly white yarn
  • Tapestry needle
  • Scissors (My scissors are pictured inside my super-fun knit kit, which I highly recommend.)
Here is how you make the basic headband:  
  • Cast on 76 stitches with the circular needles
  • (Knit 1, Purl 1) rib for 4 rows
  • Knit 10 rows 
  • (Knit 1, Purl 1) rib for 4 rows
  • Cast off


And now it's time to personalize them!

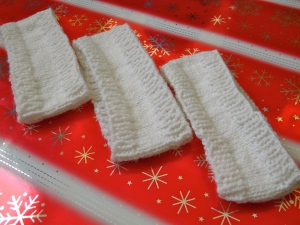
For my friend Lauren, I made a sleek band like this:


Band Instructions:
  • Cast on 10 stitches

  • (Knit 1, Purl 1) rib for about 3 inches

  • Cast off

  • Wrap the band around the headband and sew it together

For my friend Vicki, I knitted a bow:


Bow Instructions:
  • See this post from Lion Brand, and follow the directions for the large bow.

For my friend Cheryl, I made a flower like this:


Flower Instructions:

And here are all three of them, wearing their new presents on Christmas day!


Cheers!
xoxo
Laura


Sunday, January 8, 2012

Little Knitted Flowers


Hello from Zwalle, The Netherlands!

For Christmas this year, I wanted to make a little something for all 15 of the chorus girls in my show, so I decided to knit them cute little flowers with safety pins on the back so that they could attach them to anything they would like.  There were two very definite perks to this project.  Perk number one was that each flower didn't require very much yarn so I could use leftover yarn from other projects, and perk number two was that each one only took about 20 minutes to knit so I could make a whole bunch of them in a short period of time.  Oh, and did I mention that they're cute and can attach to anything?

Here's what you will need to make these:


  • Just a little bit of yarn per flower

  • Size 7 needles

  • Tapestry needle

  • Scissors

  • Large safety pins

And here's how you make them:


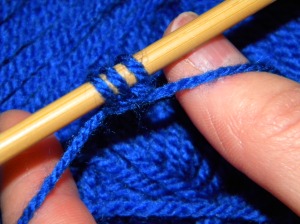
  • Row 1: Cast on 3 stitches

  • Row 2: Purl

  • Row 3: Knit front and back of each stitch in the row

  • Repeat rows 2 and 3 until you have 48 stitches (first there will be 3 then 6 then 12 then 24 then 48 stitches on the kneedles)

  • Purl one last row

  • Cast off

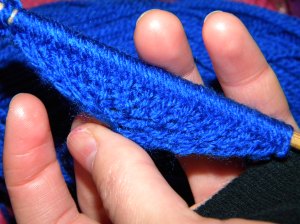
As you cast off, the yarn will curl off the kneedles like this:


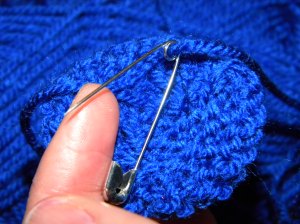
Once you have fully cast off, the yarn will already be twirling around naturally, so let it curl up like a flower, attach the tapestry needle to the loose ends and sew them in so that they hold the flower together.  Once the shape of the flower is secure, wrap those same ends around the safety pin to attach it to the bottom of the flower like this:


And with that, you've got a little flower that you can pin onto your hat or your coat or your scarf or your sweater or your mittens or...


xoxo
Laura
Related Posts Plugin for WordPress, Blogger...